What you will need:
Tin you want to cover
Origami Paper in the same print (I think I used about 3 sheets total)
Exacto Knife
I used my sewing/craft cutting board to safely cut the paper with the Exacto Knife
Mod Podge
Paper Plate and Foam brush
Small Ruler
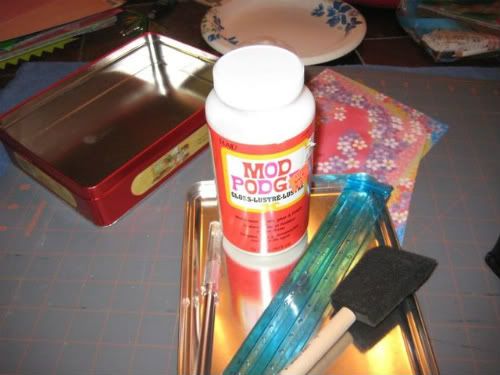
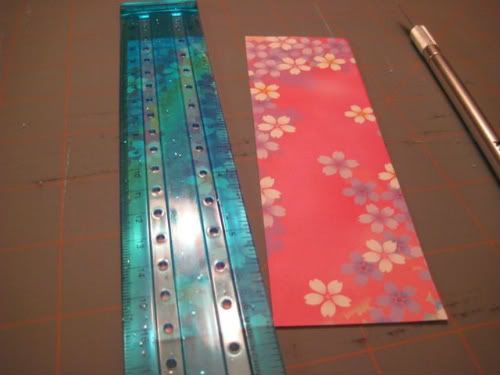
I measured my pieces out and began cutting out about 3 pieces of them to go around the side walls. I used a small ruler to work best with the small Origami pieces. The Cutting board ruler was too big.
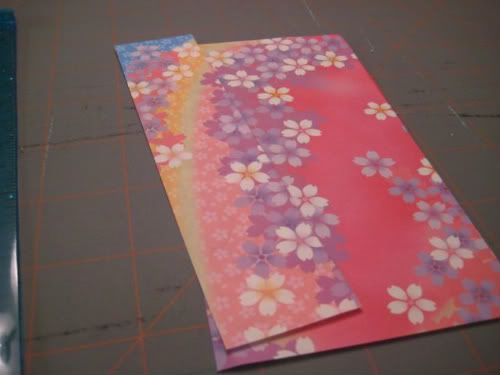
After getting lots of pieces cut, I began to Mod Podge the area that I would lay the Origami paper down on. I recommend keeping a wet washcloth with you at the table to wipe off the excess Mod Podge off of your fingers. You will use your fingers often to lay down the Origami paper on the tin. You will also Mod Podge the outer layer as well as the inner as you lay your paper down. This is very important.
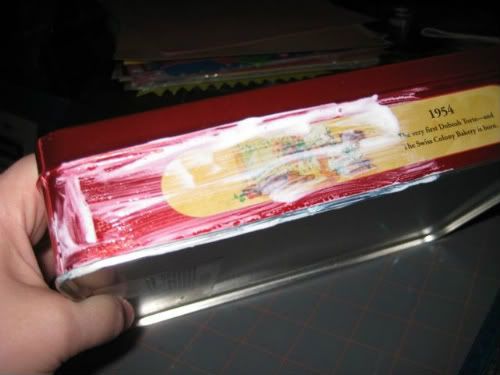
To get the rounded edges of the lid of the tin to lay down, I would use the Exacto Knife to and split the corners down the middle on the rounded edges, and would lay them down with the Mod Podge on top of each other. It layered really nice, no bulk to the rounded edges. Not sure yet what I am going to do with this one (right now season packets from Ramen noodles are in it), but I am thinking that I might just give it to my daughter. She could put it to good use in her locker at Middle School. I have a bunch of round Christmas tins that are in sad shape, and I would love to give new life to them and Mod Podge the heck out of them all! I think I have about 4 or 5 tins. This might be my new addiction. I know some tins will come in handy at my Craft and Sewing Center that will get set back up this weekend. :) I am excited to get my sewing section back in the house. It has been sadly sitting in the garage since Christmas. I love doing this kind of stuff and it will help me feel very organized in my life and that is so important to me these days. Here is the final product. Let me know what you think and I will do my best to answer any questions.
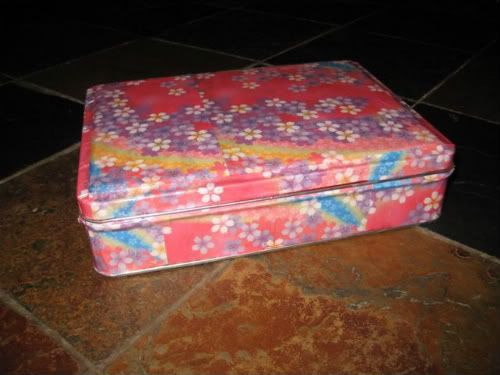
FYI, you will want to leave a little bit of space at the top of the bottom piece tin to put the lid back on. I had originally papered it to almost the top of the tin, and ended up cutting it off with the Exacto Knife because it was too thick at the top tot get the lid on. The top of the bottom tin went messy when attempting to get the lid on and bunched up so it had to go. The lid refused to go over the top with the paper. I hope that makes sense! I am new to blogging my projects so if I do not make something clear enough then let me know, and I will do my best to clear it up for you.
Pin It
No comments:
Post a Comment