My daughter has a friend whose Grandfather is a Beekeeper, so last week I bought some Raw Honey (2 gallons) and about 4 pounds of Pure Beeswax from him. I use the Beeswax to make Lotion Bars and other bath items for the family to use or to sell in my store. Beeswax is really expensive in the Craft stores and on-line so I thought I would support my daughter's friend and their family (buy local when you can) and get the raw honey and beeswax which I bought for really cheap. I am glad that I did. I found a tutorial on-line on how to clean up the beeswax, so here is my step by step process in cleaning up pure beeswax.
What you will need:
Your unprocessed block of Beeswax, bugs bits, dirt and all
Water
Large Old Cooking pot that you don't care about getting wax in.
Cutting Board
Krinkle Cutter
Plastic Spoon
Rubber Maid Take Alongs (to pour the clean wax in)
Sifter that has tiny holes to catch bug particles in. I bought one at Wal-Mart for almost $3. I got the small sized one with very little holes. Make sure the weaving of the sifter is tight. You can see the sifter that I used below in my pictures.
Double BoilerFirst step, get a rather large and inexpensive pot that you won't mind having wax be in. The wax is a bit of a pain to clean up in the pot, but it can be done.
Never pour wax or waxy water down the drain as it will block up your drain, so I want to let that be known first. I was given about a 4-5 pound block of beeswax, with bug particles and all and I was determined to at least learn how to clean up the beeswa. I did some research on how to clean it up and through various websites decided to try this method. I actually found this to be fun and plan to get more wax from my daughter's friend's family.
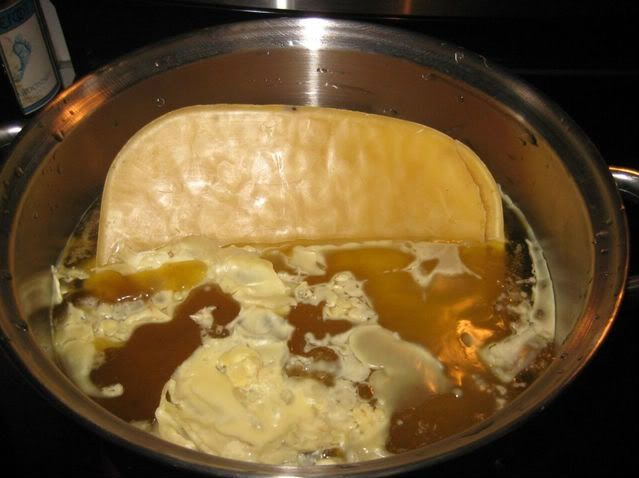
Take your choice cooking pot that you don't mind getting wax in, and fill it halfway with water. Set in your wax block and start simmering your water until it comes to a light boil. Here is what the wax will look like as it melts and I increased and kept it on Medium to Medium High heat.
Here is what it looks like as it starts melting. Some of the bug particles will float to the top as it melts. I got a few paper towels and a plastic spoon and scooped out the big particles as it was metling. The good wax will come to the top and the bug particles will pool down to the bottom, which is also the top of the water, if that makes sense.
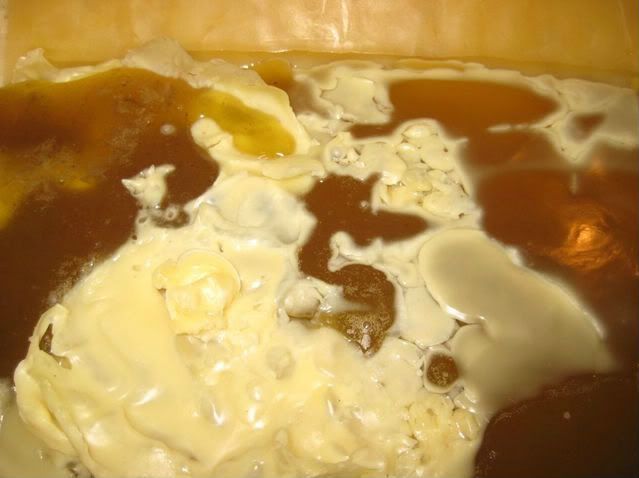
Here it looks like getting melted. I used the spoon to poke at the wax and water to see what was left of the big block being melted and scooped out big bug particles while poking it.
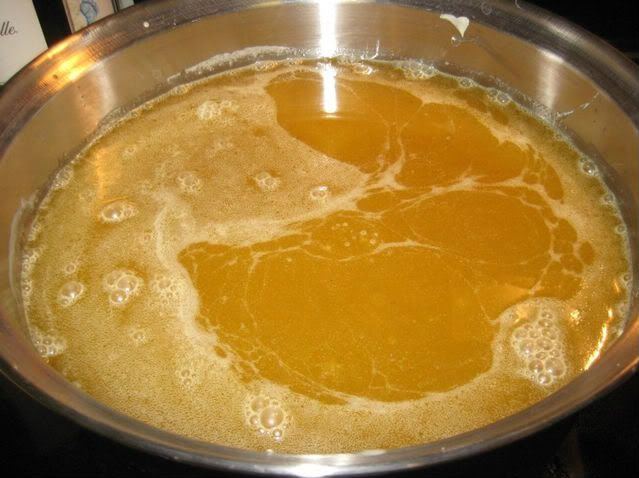
Here is the beeswax almost completely melted. Be careful as to not overheat the wax and make it bubble. It can spit and burn you, so if you see it bubble, reduce the temperature a little bit.

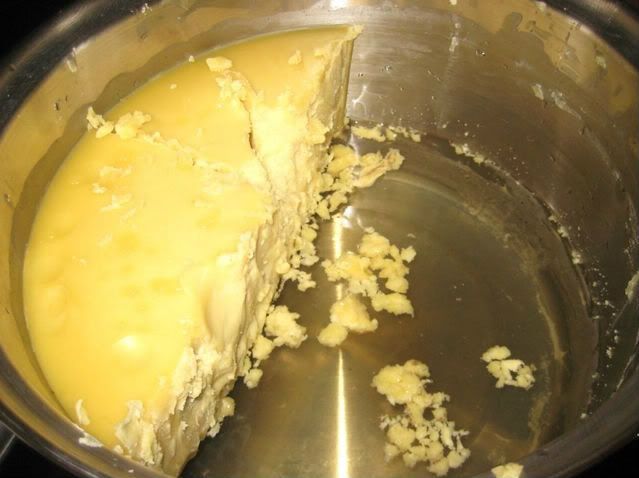
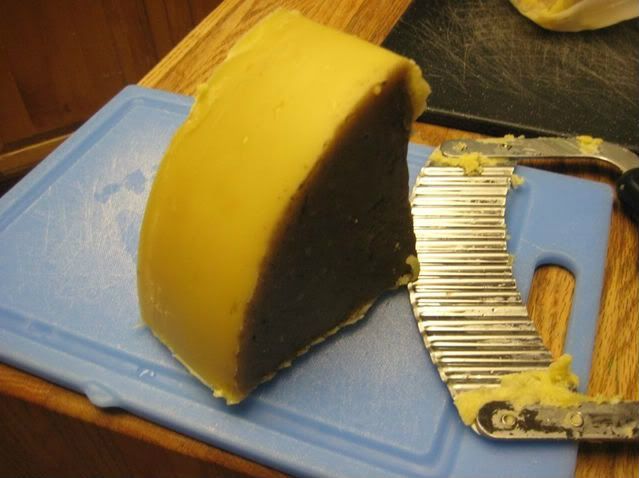
Once it was completely melted, and I used a plastic spoon to check this, I turned the stove off and removed it from the heat. I let the block cool about 4-5 hours so that the wax can solidify and then used my Krinkle Cutter to cut out chunks of the wax. It was cooled off, but still soft enough for me to cut the wax blocks out. It looked like this as I was cutting the wax up still in the pot.
So here is what the chunks look like. You can see all the bug bits and sediment fell to the bottom of the wax block.
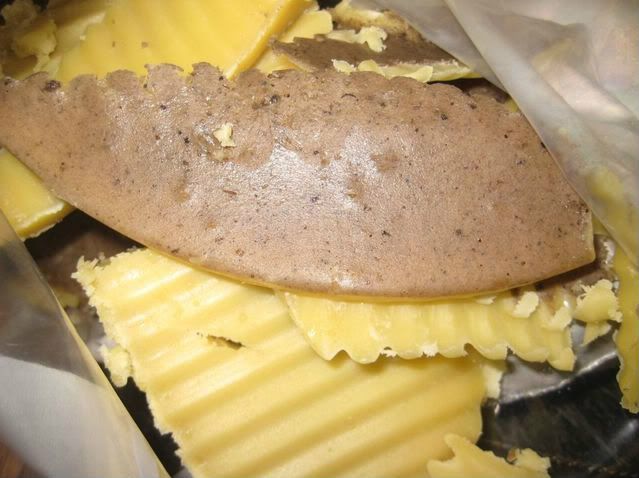
Here is all the bug sediment cut off of the wax blocks. I plan to keep the yucky bag of wax around to use as fire starter for our fire pits. That way no wax goes to waste.
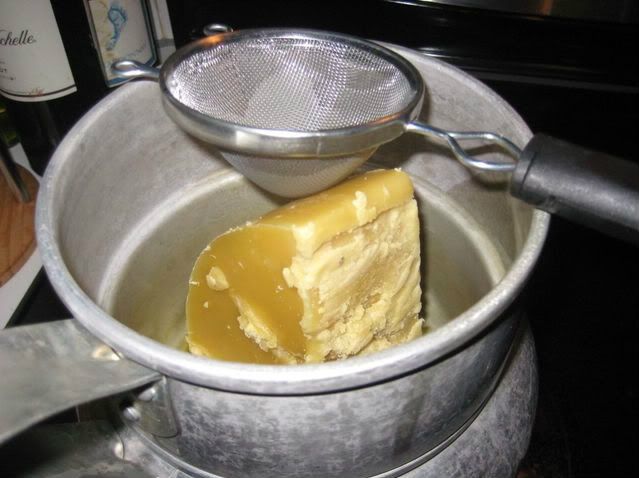
Here is the second big step to cleaning up the wax. I did this cleaning process over a two day period.
For the second process I used a double boiler. I melted down each block of wax and got out my sifter and plastic Rubbermaid Take Alongs to pour the clean wax in and to store in smaller useable blocks.
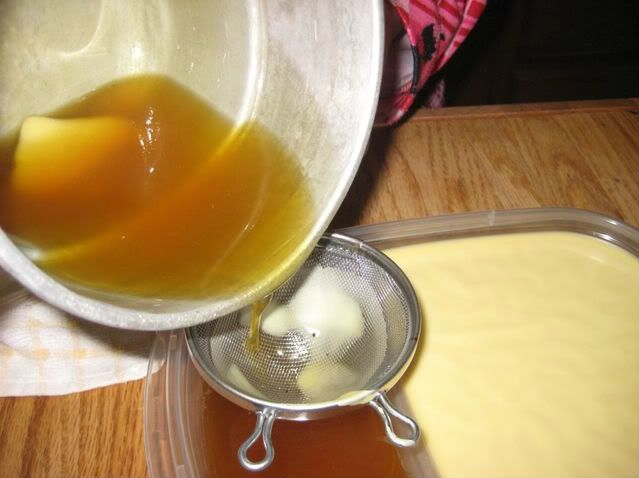
Here I am with my daughter pouring the wax in the containers. She was helping me out so I can take a picture of how the wax looks. You can see some of the particles in the sifter.
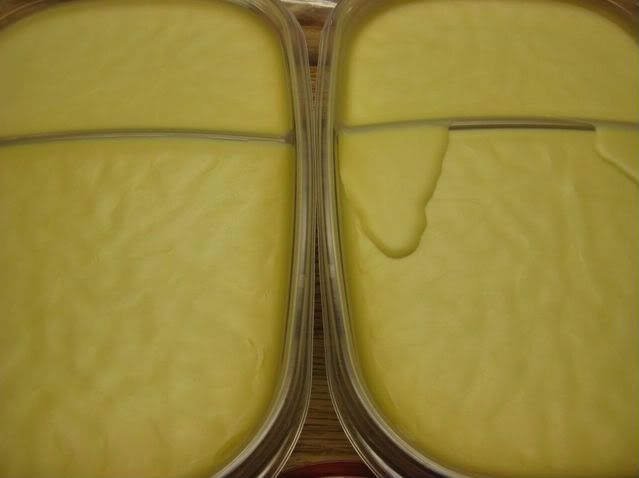
Here is some of the containers with the cleaned up wax in them. I actually had a lot of fun cleaning up the raw beeswax. Now my beeswax will be easy to pop out of the containers when I am ready to make up more Lotion Bars. I can't wait to use this stuff! I am still cleaning up the pot though. I have been dumping the water and bits of left wax out in the yard/dirt. When the pot is still warm, get some paper towels and wipe the wax out. You can throw those paper towels in your composter (if you have one). :) I hope you enjoyed this little turorial. For the record, I was convinced that there was no way I could clean up that wax. While this was time consuming, I really enjoyed the process of cleaning up Pure Beeswax. Who knew that cleaning beeswax could be so rewarding and fun? Surely not I! Oh and for the record, the honey I got from them is amazing!
 Pin It


